Table of Contents
- What You’ll Need Before Fabrication Begins
- Step 1: Consultation, Site Survey, and Design Specifications
- Step 2: Materials Used in Custom Signs and Why They Matter
- Step 3: Cutting, Welding, and Forming the Sign Structure
- Step 4: Priming, Finishing, and Graphic Application Methods
- Step 5: ADA Compliant Sign Fabrication Requirements
- Step 6: Signage Fabrication Timeline and Installation Logistics
- Step 7: Quality Control, Cost Factors, and Maintenance Lifecycle
- Frequently Asked Questions
Last Updated: September 29, 2026
What You’ll Need Before Fabrication Begins
Custom sign fabrication is the process of designing, cutting, forming, finishing, and assembling a sign from raw materials to match a client’s exact specifications, and every custom sign fabrication project follows the same core stages. At Triton Sign, we’ve handled these builds for over 30 years of combined industry experience, and the projects that go smoothly all start the same way: with preparation.
Before any cutting or welding begins, you need a few things locked down:
- Approved design files and brand guidelines
- A signed permit or a clear path to one
- A confirmed budget range
- Site measurements and mounting details
- Material selections for the sign face and structure
Most delays trace back to a missing item on this list. A common mistake is ordering materials before the permit clears. If the city rejects the size or placement, you’ve already paid for metal you can’t use.
Skipping the pre-fabrication checklist is the fastest way to blow a deadline. A rejected permit after materials are cut can add weeks and force a full rebuild at your cost.
Step 1: Consultation, Site Survey, and Design Specifications
Every project starts with a client consultation and a site survey. This is where we capture design specifications, measure the mounting surface, and check sight lines from the street.
A proper survey answers questions that drawings alone can’t:
- How much sun hits the wall each day?
- Is the surface brick, stucco, or metal panel?
- What’s the wind load at that height?
- Where do power and conduit run?
From there, the design team turns your branding into production-ready artwork. They set the sign shape, font sizes, and color matches. Artwork preparation also means outlining fonts and checking resolution before anything goes to print or cut.
Step 2: Materials Used in Custom Signs and Why They Matter
Materials used in custom signs decide how long the sign lasts, how it looks after five years, and what the project costs. Acrylic, aluminum, stainless steel, high-density foam, and HDPE each solve a different problem, and the gauge or alloy you pick changes both the fabrication method and the price.
Here’s how the common options compare at a fabrication level:
| Material | Typical Spec | Best For | Trade-off |
|---|---|---|---|
| Acrylic | 1/8 in. to 1/2 in. cast sheet | Illuminated faces, clean edges | Can crack in extreme cold; cast costs more than extruded |
| Aluminum | 0.040 in. to 0.125 in. sheet, 6061 or 5052 alloy | Frames, panels, outdoor use | Dents on impact; 5052 bends better than 6061 |
| Stainless steel | 16 to 20 gauge, 304 or 316 | High-end lobby signs | Heavier, costs more; 316 resists salt air better |
| HDPE foam | 1/2 in. to 2 in. board | Lightweight interior signs | Not for exterior wind loads |
| HDPE (solid) | 1/4 in. to 1 in. sheet | Outdoor panels, marine environments | Limited color range, harder to paint |
Structural integrity starts with matching the material to the environment. A sign that faces salt air or strong wind needs a different build than one in a covered entryway. For coastal installs, 316 stainless or marine-grade aluminum holds up where standard steel would rust within a season. For interior lobby signs, cast acrylic gives a deeper, more premium edge than extruded sheet.
Material choice is also one of the biggest cost drivers. Thicker sheet, higher alloys, and cast versus extruded acrylic all move the price. A 1/2 in. cast acrylic face can cost several times more than a 1/8 in. extruded face of the same size, and 316 stainless runs noticeably higher than 304. When you compare quotes, ask what gauge and alloy is specified, a low bid often means thinner stock or a lower grade that will not survive the same service life.
Finish options matter too. Brushed, polished, anodized, and powder-coated aluminum each change both the look and the maintenance schedule. Anodized and powder-coated surfaces resist fading and corrosion better than bare metal, which is why they are common on exterior signage. Acrylic can be polished to a glass-like edge or left matte, and the choice affects how light travels through an illuminated face.
Ask for the material spec sheet before you approve a quote. Gauge, alloy, and cast-versus-extruded are the three details that most often explain a price gap between two bids.
Step 3: Cutting, Welding, and Forming the Sign Structure
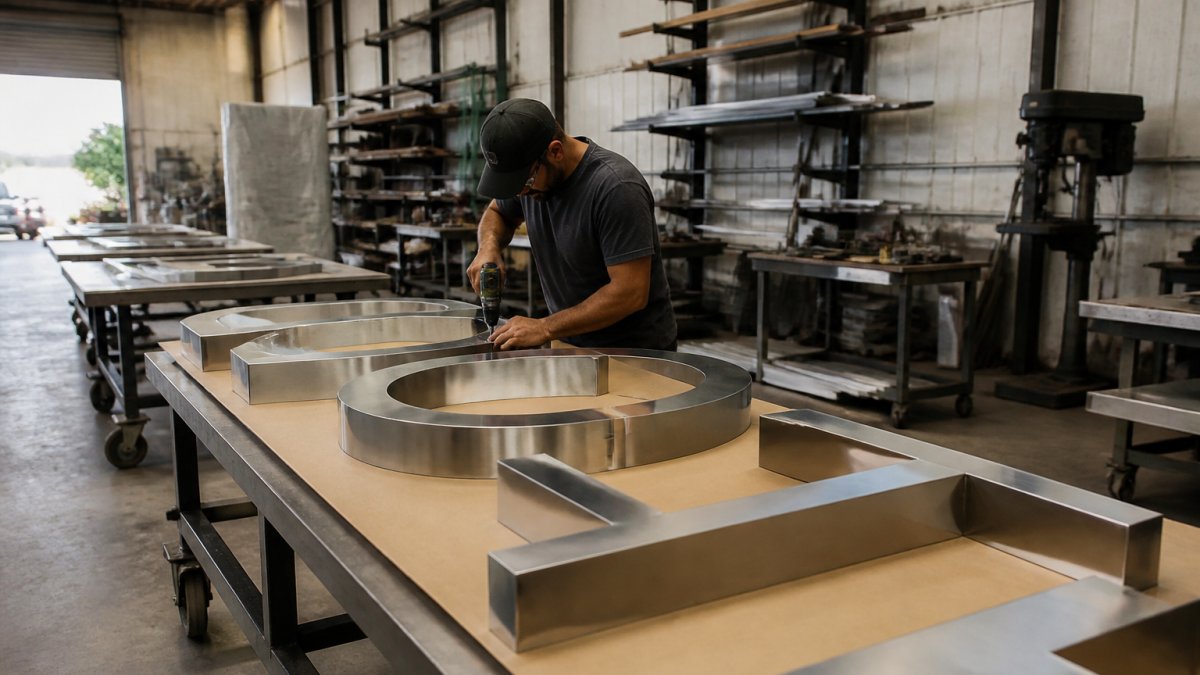
CNC cutting, metal shaping, and welding turn flat stock into a rigid frame. This step is where the sign’s shape and strength get decided.
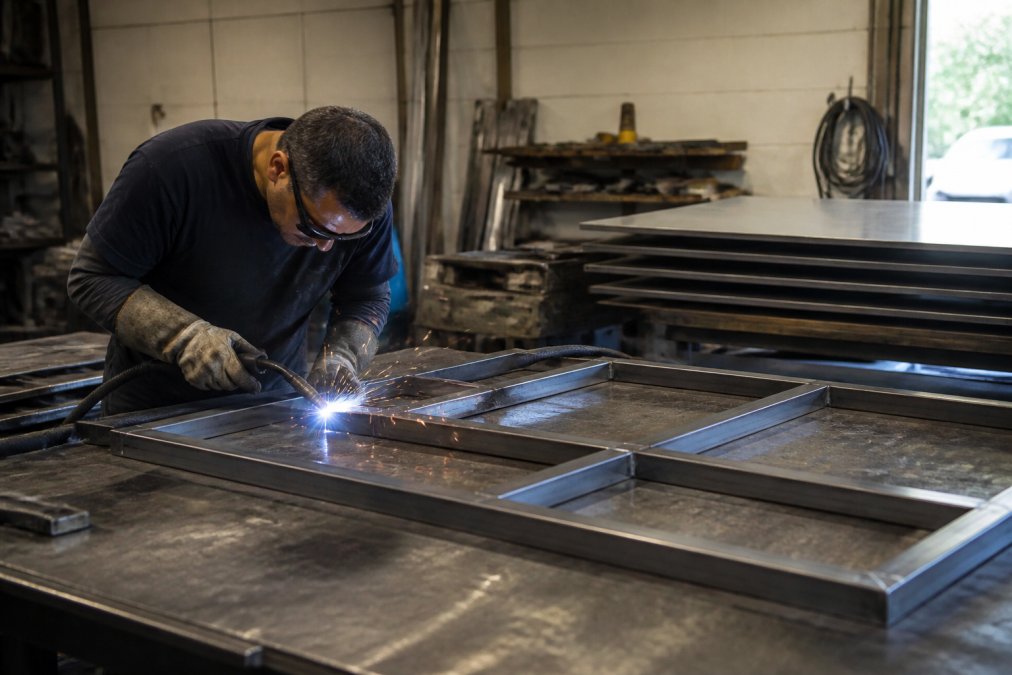
A CNC router or plasma cutter follows the digital file to cut letters and panels. Welders then join the frame, and the team checks every corner for square. Bending and forming give channel letters their depth. Stamping and casting handle smaller decorative parts.
What most people miss is how much the frame matters. A beautiful face on a weak frame will sag or pull loose within a year.
Step 4: Priming, Finishing, and Graphic Application Methods
Finishing decides how the sign looks up close and how well it survives weather. Priming, sanding, and painting come first, then graphics go on top.
Graphic application methods include:
- Vinyl application for flat, simple designs
- High-resolution digital printing for photos and gradients
- Hand painting for detail work and touch-ups
- Screen printing for high-volume repeats
Branding consistency across multiple locations depends on matching colors and fonts exactly.
Step 5: ADA Compliant Sign Fabrication Requirements
ADA compliant sign fabrication follows the standards set in the Americans with Disabilities Act. These rules cover raised characters, braille, contrast, and mounting height for permanent room signs.
Key requirements to build in:
- Raised characters and braille on permanent room signs
- Non-glare finish with strong figure-ground contrast
- Mounting height measured to the center of the sign
- Tactile characters sized to code
Build ADA signs into the original fabrication run, not as a later add-on. Re-cutting tactile characters after the fact costs far more than getting them right the first time.
Step 6: Signage Fabrication Timeline and Installation Logistics
A signage fabrication timeline typically runs four to ten weeks from approved artwork to installation, though complex illuminated or multi-location projects can run longer. The exact length depends on material lead times, permit speed, and sign complexity. Breaking the schedule into phases makes it easier to see where delays actually come from.
A realistic sequence looks like this:
- Design and approvals, 3 to 10 business days
- Permit submission and review, 1 to 6 weeks, depending on the jurisdiction
- Material ordering, 3 to 15 business days for standard stock; longer for custom alloys or cast acrylic
- Cutting, welding, and forming, 1 to 3 weeks
- Finishing and graphic application, 3 to 7 business days
- Delivery and installation, 1 to 5 days per site
- Sign area or height exceeds what the zoning code allows for that district
- Placement conflicts with setback, sight-line, or right-of-way rules
- Illumination type is not permitted (for example, internal illumination in a district that only allows external)
- Missing engineering stamps for wind load on large or high-mounted signs
- Incomplete application, no site plan, no dimensioned drawings, or no property owner signature
Do not schedule installation before the permit is issued and the electrical rough-in is confirmed. Installing a sign that later fails inspection can mean removal, repair, and a second inspection fee.
Step 7: Quality Control, Cost Factors, and Maintenance Lifecycle
Quality control and inspection catch problems before the sign leaves the shop. Every unit gets checked for square frames, clean edges, color match, and secure mounting points.
Cost estimation factors include:
-
Material choice and thickness
-
Sign size and number of units
-
Illumination and wiring
-
Permit fees and engineering stamps
-
Installation access and height
-
Wash faces every few months
-
Check mounting bolts twice a year
-
Inspect wiring on illuminated signs annually
-
Touch up paint on exposed metal
Frequently Asked Questions
What are the steps involved in the custom sign fabrication process?
The process typically follows seven stages: consultation and site survey, design specifications and artwork preparation, material selection, cutting and welding, priming and finishing, graphic application, and final installation. Each stage builds on the previous one, so changes late in the process can add cost and delay. Understanding the full sequence helps project managers coordinate with construction schedules and avoid last-minute surprises.
How long does the signage fabrication timeline usually take?
Timelines vary based on sign complexity, material availability, and permit requirements. Simple interior signs may take one to two weeks after design approval, while large exterior structures with custom fabrication can take four to eight weeks or more. Zoning approvals and permit acquisition often add time. Providing final artwork early and confirming site measurements before fabrication starts are the two biggest factors in keeping a project on schedule.
How does ADA compliance affect the fabrication process?
ADA compliant sign fabrication requires specific materials, finishes, and dimensions. Raised characters, Grade 2 Braille, non-glare backgrounds, and high-contrast color combinations are standard requirements. Mounting height and location also matter for tactile signs. These details must be built into the design specifications before cutting begins, because retrofitting Braille or changing character depth after fabrication is expensive and often means remaking the sign entirely.
What materials are most commonly used in professional sign fabrication?
Acrylic, aluminum, stainless steel, high-density foam, and PVC are the most common substrates. Acrylic works well for illuminated faces and interior displays. Aluminum offers durability and light weight for exterior signs. Stainless steel suits high-end architectural applications. Vinyl and high-resolution digital printing handle graphics on flat surfaces. The right choice depends on where the sign will be installed, how long it needs to last, and the visual impact you want.
Custom sign projects fail for predictable reasons: rushed permits, mismatched materials, and skipped quality checks. Triton Sign handles design, fabrication, and installation under one roof, so nothing falls through the cracks. With full-service support, ADA expertise, and a track record of meeting tight deadlines and budgets, we build signs that hold up for years. Get started with Triton Sign and put a fabrication team behind your brand.