Table of Contents
- Planning and Site Assessment for Construction Signage
- OSHA Construction Site Signage Requirements
- Construction Sign Installation Steps
- Construction Site Sign Placement and Visibility
- Choosing Sign Types and Formats for Work Zones
- Construction Sign Inspection Checklist and Maintenance
- Common Installation Mistakes to Avoid
- Frequently Asked Questions
Last Updated: October 17, 2026
Planning and Site Assessment for Construction Signage
Construction signage installation starts long before you mount the first sign.
Begin by walking the site during different times of day. Morning light hits differently than afternoon sun. Shadows change. You’ll spot sightlines that matter and obstacles that block views.
Document existing conditions. Take photos of mounting surfaces. Note their material, condition, and stability. Concrete, metal, wood, and brick each require different hardware and prep work. Assess traffic patterns.
Identify your anchor points before you arrive with materials. Weak surfaces fail. A sign mounted to crumbling brick or rotted wood won’t stay secure. Test the surface with a probe or hammer.
Check for utilities. Call before you dig or drill. Underground lines, electrical conduits, and water pipes hide beneath surfaces. One mistake creates liability and project delays.
Proper planning eliminates many installation problems on site. A thorough assessment prevents costly rework later.
OSHA Construction Site Signage Requirements
OSHA mandates specific signage standards for construction sites. These aren’t suggestions. They’re legal requirements backed by enforcement and penalties.
Construction sites must display warning signs that communicate hazards clearly. According to the OSHA construction standards for hazard communication, signs must identify the specific hazard, the danger it poses, and precautions workers should take.
The ANSI Z535 standard for safety signs defines how safety signage should look and function. Signs must be legible from the distance where the hazard exists.
Signs must use consistent formatting across your site. Mixed styles confuse workers. Standardized symbols and colors create instant recognition. Workers learn what yellow-and-black means. They respond faster to familiar formats.
Update signage when conditions change. A completed excavation no longer needs a fall hazard sign. Remove outdated warnings. Conflicting or expired signs undermine credibility and create confusion.
Temporary construction sites require temporary signage that’s secure and weatherproof. Signs must withstand wind, rain, and temperature changes without fading, peeling, or becoming illegible.
Construction Sign Installation Steps
Installing construction site signage correctly ensures signs stay secure and visible throughout your project. Follow this sequence to avoid common failures.
Step 1: Prepare the Installation Surface
Clean the mounting surface thoroughly. Dirt, dust, and loose debris prevent secure attachment. Use a wire brush or pressure washer to remove buildup. Let the surface dry completely.
For concrete, check for cracks or spalling. Fill significant cracks with concrete patching compound. Sand rough spots smooth. A rough surface catches wind and creates weak attachment points.
For metal surfaces, remove rust and loose paint. Wire brush or sandpaper the area. Bare metal accepts fasteners better than painted or corroded surfaces. Wipe away dust with a clean cloth.
For wood, inspect for rot or soft spots. Replace compromised sections. Sand the area where hardware will attach. Ensure the wood is solid enough to hold fasteners without splitting.
Primer or sealant improves adhesion for mounted signs. Apply per manufacturer instructions and allow full cure time before attachment.
Step 2: Secure Mounting Hardware and Supports
Select hardware rated for your sign’s weight and local wind loads. Undersized hardware fails under stress. Use stainless steel or galvanized fasteners to resist rust and corrosion.
For concrete mounting, use concrete anchors appropriate to the surface. Expansion anchors work in solid concrete. Wedge anchors handle heavier loads. Drill pilot holes to exact specifications. Undersized holes weaken the anchor.
For metal mounting, use bolts, rivets, or welded connections depending on the structure. Bolted connections allow adjustment. Riveted or welded connections are permanent. Choose based on whether you’ll need to move or remove the sign later.
For wood mounting, use lag bolts or screws rated for outdoor use. Predrill holes to prevent splitting. Space fasteners according to load distribution. Single fasteners fail. Distributed attachment shares stress.
Install support brackets or posts if signs are large or exposed to wind. Brackets brace signs against movement. Posts anchor freestanding signs. Undersized supports bend or snap under pressure.
Step 3: Attach and Level the Sign
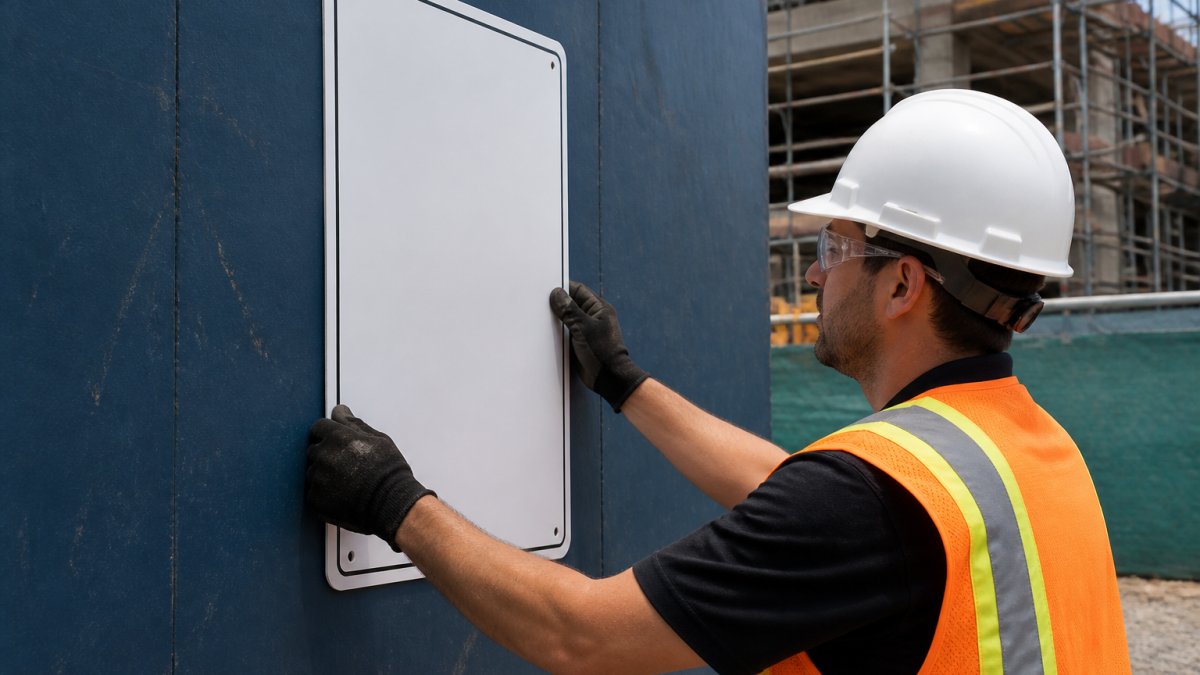
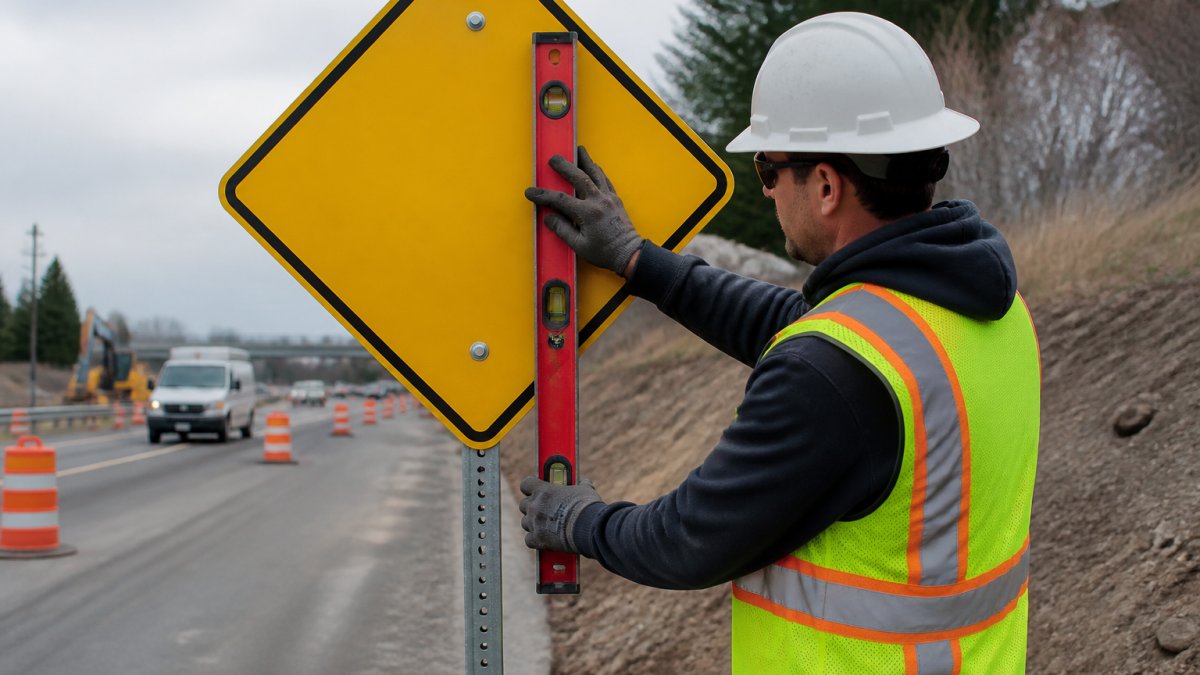
Position the sign before final fastening. Use a level to ensure it’s plumb and square. Crooked signs look unprofessional and suggest poor installation quality. Adjust brackets or supports until the sign is true.
Attach the sign using the hardware you’ve prepared. Follow a sequence that prevents binding or uneven stress. Tighten fasteners in a cross pattern if the sign has multiple attachment points. This distributes pressure evenly.
Don’t over-tighten fasteners. Excessive force strips threads, cracks mounting brackets, or damages the sign itself. Tighten until snug, then add a quarter turn. Stop.
For adhesive-mounted signs, follow the adhesive manufacturer’s instructions exactly. Surface prep and cure time are critical. Most adhesives require 24-48 hours to reach full strength before the sign experiences wind or vibration.
Step 4: Test Structural Stability
Push and pull the sign after installation. It should not move. Slight movement indicates loose fasteners or inadequate support. Tighten fasteners and retest.
Check all attachment points. Visually inspect for gaps between the sign and mounting surface. Gaps indicate poor contact or settling. Address gaps before leaving the site.
For large or exposed signs, perform a wind simulation test if possible. Apply lateral force by hand to mimic wind pressure. The sign should remain rigid and secure. If it flexes excessively or moves, reinforce supports.
Document the installation with photos. Photograph fasteners, brackets, and the final mounted sign. This creates a baseline for future inspections and proves proper installation if questions arise later.
Construction Site Sign Placement and Visibility
Strategic placement determines whether your signage actually reaches workers and visitors. Poor placement wastes investment.
Place warning signs at the point of hazard. A fall hazard sign belongs at the edge, not 50 feet away.
Position signs at eye level when possible. Workers scan at eye level naturally. Signs above or below this zone get missed. For overhead hazards, place signs higher.
Ensure clear sightlines. Remove obstacles that block views. Trim vegetation. Move equipment. Clear stored materials. A sign hidden behind clutter serves no purpose.
Use multiple signs in high-traffic areas. A single sign in a large area won’t reach everyone. Redundant signage increases the chance that workers see the message.
Consider lighting conditions. Shadows render signs invisible. Position signs where natural or artificial light illuminates them. Reflective materials improve visibility in low light.
Avoid sign clutter. Too many signs create visual noise. Workers stop reading when overwhelmed. Prioritize critical hazards. Use consistent formatting so important signs stand out.
Choosing Sign Types and Formats for Work Zones
Different hazards require different sign types. Matching the sign to the hazard ensures clear communication.
Warning signs alert workers to potential dangers. Yellow and black coloring signals caution. These signs appear before hazards, giving workers time to react.
Danger signs communicate immediate, severe hazards. Red and black coloring indicates high risk. Danger signs demand immediate attention and compliance.
Informational signs direct traffic, identify areas, and provide instructions. Blue backgrounds indicate information. These signs support site organization and worker navigation.
Prohibition signs communicate actions that are forbidden. Red circles with diagonal lines indicate “do not.” These signs prevent unsafe behavior.
Directional signs route traffic and identify exits. Green backgrounds indicate safe routes. These signs organize movement during emergencies and normal operations.
Choose sign materials based on exposure. Vinyl signs work for temporary, sheltered applications. Aluminum signs handle outdoor exposure better.
Select text and symbol sizes based on viewing distance. Text must be legible from where workers first encounter the hazard.
Construction Sign Inspection Checklist and Maintenance
Regular inspection keeps signage functional and compliant. Create a schedule and stick to it.
Weekly inspections catch early damage. Walk the site and visually check all signs. Look for:
- Fading or discoloration that reduces visibility
- Loose fasteners or movement
- Physical damage, dents, or cracks
- Dirt or debris obscuring text or symbols
- Bent or damaged brackets or supports
Monthly maintenance addresses accumulated wear. Clean signs to restore visibility. Tighten any loose fasteners. Replace damaged signs immediately.
Quarterly reviews assess overall condition. Document the condition of each sign with photos. Track deterioration over time. Plan replacement before signs fail completely.
After severe weather, inspect all signage. Wind, heavy rain, and temperature extremes stress signs and fasteners. Check for damage and secure loose components.
Before project transitions, update signage. Remove signs for completed phases. Install new signs for upcoming work. Conflicting or outdated signs create confusion and liability.
Replace signs that fade below legibility standards. Faded signs communicate nothing. Don’t wait for complete failure. Replace before readability becomes questionable.
Document all maintenance and inspections. Photos and records prove due diligence. They protect you if incidents occur and demonstrate proper site management.
Common Installation Mistakes to Avoid
Learning from others’ errors prevents costly failures on your projects.
Undersized fasteners fail under stress. Wind, vibration, and temperature changes stress fasteners over time.
Poor surface preparation causes attachment failure. Dirt, rust, and loose paint prevent secure mounting.
Ignoring wind loads leads to signs tearing loose.
Mounting signs upside down or backward happens more often than you’d expect. Double-check orientation before final fastening.
Mismatched hardware creates weak points. Using wood screws on metal, or undersized bolts on concrete, invites failure.
Skipping the level results in crooked signs. Crooked signs look unprofessional and suggest poor workmanship.
Overcrowding signs confuses workers. Too many messages in one area overwhelm readers. Prioritize critical information.
Failing to plan for seasonal changes causes problems. Freeze-thaw cycles stress fasteners.
Proper construction signage installation protects workers, communicates hazards, and demonstrates your commitment to site safety.
At Triton Sign, we understand that construction sites demand reliable, professional signage that performs under real-world conditions.
| Task | Timeline | Frequency |
|---|---|---|
| Site assessment and planning | 30 minutes | Before installation |
| Surface preparation | 1-2 hours | Per sign |
| Hardware installation | 30 minutes | Per sign |
| Sign attachment and leveling | 15-30 minutes | Per sign |
| Structural stability testing | 10 minutes | Per sign |
| Weekly visual inspection | 15-30 minutes | Weekly |
| Monthly maintenance | 30-60 minutes | Monthly |
| Quarterly documentation review | 45 minutes | Quarterly |
| Post-weather inspection | 30 minutes | After storms |
Test visibility from multiple angles and distances before finalizing placement. Walk the sightlines where workers actually stand and move. A sign that looks visible from one angle may disappear from another. This 5-minute check prevents installation regrets.
Over-tightening fasteners strips threads and cracks brackets. Tighten until snug, then stop. Excessive force damages equipment and creates weak points that fail under stress.
Frequently Asked Questions
What are the main OSHA requirements for construction site signage?
OSHA requires construction site signage to communicate hazards clearly using words, symbols, and colors that comply with ANSI Z535 standards. Warning signs must be visible from the distance at which a worker can react safely. Signs must include hazard descriptions, consequences, and preventive measures. All signage must be maintained in good condition and replaced if damaged or faded. Specific hazards like excavations, electrical hazards, and fall risks require designated warning signs positioned where workers can see them before encountering the danger.
How do you determine proper construction sign placement on a job site?
Place construction site sign placement at eye level (48 to 66 inches from the ground) at all primary site access points and near specific hazards. Position signs along high-traffic pathways, at the edge of excavations, near equipment, and at stairwells or elevated areas. Ensure signs are visible from at least the distance required for workers to stop or take evasive action, typically 10 to 20 feet depending on site speed and activity. Avoid placing signs where they’ll be blocked by equipment, materials, or other obstructions. Use multiple signs if the hazard covers a large area or has multiple approach routes.
How often should construction site signs be inspected and replaced?
Inspect construction site signs weekly or more frequently if weather is severe. Replace signs immediately if they show fading, damage, weathering, or illegibility. Signs exposed to direct sunlight typically need replacement every 6 to 12 months depending on UV resistance of the material. After heavy wind, rain, or impact, check all signs for secure attachment and visibility. Remove signs promptly when the hazard no longer exists or the project phase changes. Keep a construction sign inspection checklist on file to document condition and maintenance dates for compliance records.
What materials work best for temporary construction site signs?
Aluminum and vinyl are durable choices for temporary construction signage because they resist weather, moisture, and UV damage. Corrugated plastic offers lightweight, cost-effective protection for shorter projects. Ensure all materials meet ANSI Z535 color and symbol standards for legibility. Use weather-resistant fasteners (stainless steel or galvanized) to prevent rust and material degradation. For high-wind sites, choose heavier materials or reinforce with additional bracing. Verify that materials can withstand the expected temperature range and humidity at your location throughout the project duration.