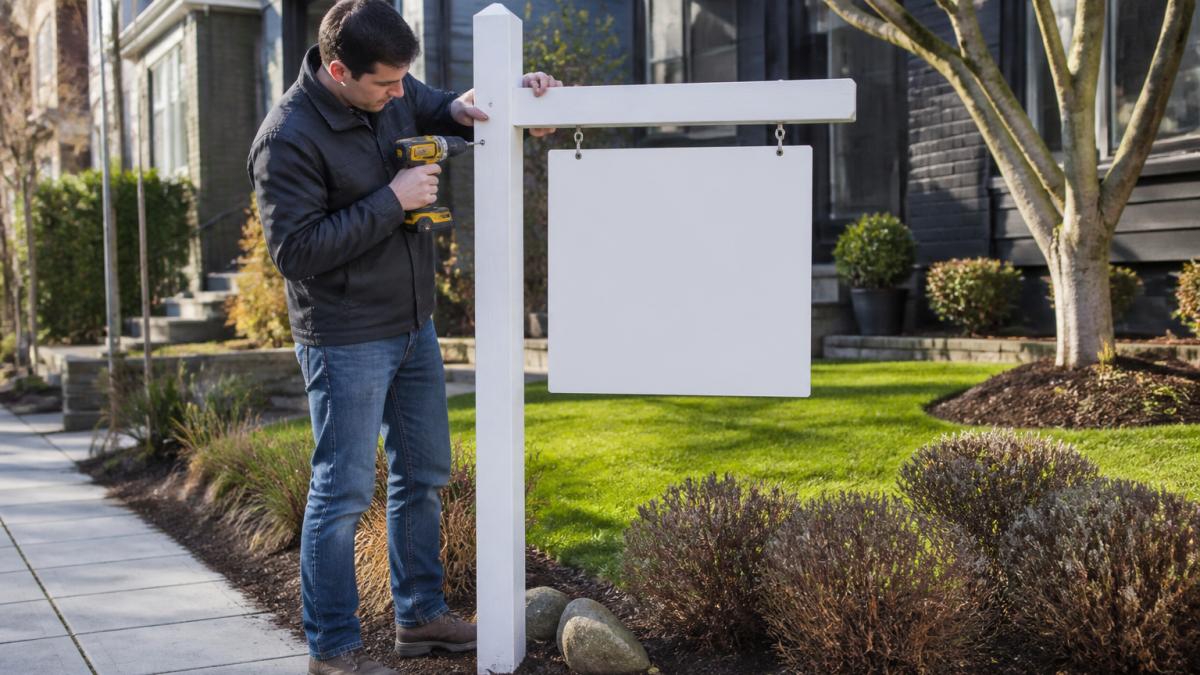
Table of Contents
- What You’ll Need: Real Estate Sign Installation Tools
- Step 1: Check Underground Utilities and Get Permission
- Step 2: Plan Real Estate Yard Sign Placement for Maximum Visibility
- Step 3: Prepare the Ground and Mark Your Holes
- Step 4: How to Secure a Real Estate Sign Post in the Ground
- Step 5: Vinyl Real Estate Post Installation Instructions and Attachment
- Step 6: Inspect, Align, and Test Stability
- Common Installation Mistakes to Avoid
- Frequently Asked Questions
Last Updated: October 6, 2026
What You’ll Need: Real Estate Sign Installation Tools
To install real estate signs safely requires the right equipment before digging.
Essential tools:
- Post hole digger or auger (manual or powered)
- Shovel for soil removal
- Tape measure (25-foot minimum)
- Level (4-foot recommended)
Materials you’ll need:
- Sign posts (vinyl, wood, or metal depending on your sign type)
- Concrete mix or gravel for ground support
- Fasteners: bolts, nuts, washers, and bungee straps
- Weatherproof sealant for exposed wood
Triton Sign recommends having all materials on-site before starting, rushing leads to crooked signs and safety hazards.
Pro tip: Check your sign’s weight specifications. Heavier vinyl real estate post installations need deeper holes and stronger anchoring, or signs lean or fall in wind.
Step 1: Check Underground Utilities and Get Permission
Before you dig anywhere, call 811 or your local utility locating service. This prevents hitting buried power lines, gas lines, water mains, and fiber optic cables, and most states require it by law.
Permission checklist:
- Confirm property ownership and get written permission
- Check local zoning codes for sign placement rules
- Verify setback requirements (distance from property lines)
- Ask about permit requirements for real estate signage
Real estate sign placement must follow local regulations. Some jurisdictions limit sign height, size, or placement distance from the road. A property manager or real estate agent can usually clarify local rules.
Digging without utility marking can result in electrocution, gas leaks, or service outages. Fines for hitting utilities often exceed $10,000. Always call before you dig.
Step 2: Plan Real Estate Yard Sign Placement for Maximum Visibility
Placement is where a safe, secure installation starts. A post driven perfectly straight in the wrong spot is still a failed install, it can violate a right-of-way rule, block a sightline, or sit where no driver can read it.
Placement rules by sign type:
- Yard signs (single-post, 18 x 24 inches typical): Position the post so the sign face sits 10-15 feet back from the curb or property line, with the bottom edge roughly 24-30 inches above grade, readable over parked cars and low shrubs.
- Post-and-panel signs (two-post, 24 x 36 inches or larger): Set the posts 24-36 inches apart on center so the panel doesn’t sag. Keep the panel bottom at least 18 inches above grade to clear mower decks and snow accumulation.
- Open-house and directional signs (A-frame or H-stake): Place these on the property or on private sidewalks you have permission to use, never in the public right-of-way, on a median, or on a utility easement. Remove A-frames at the end of each open-house day.
Right-of-way and HOA checks before you mark anything:
- Confirm the property line. The strip between the curb and the sidewalk is usually public right-of-way, and many jurisdictions prohibit permanent signs there.
- Check HOA covenants for sign size, height, color, and duration limits, these often override what the city allows.
- Verify setback requirements (distance from the property line) in the local zoning code.
- Confirm you have written permission from the property owner if you are not the owner.
Legibility math (this is what most guides skip):
A useful rule of thumb is 1 inch of letter height per 10 feet of viewing distance:
- A 3-inch letter is readable at about 30 feet, fine for a quiet residential street.
- A 6-inch letter is readable at about 60 feet, appropriate for a collector road.
- A 12-inch letter is readable at about 120 feet, needed on faster arterials.
Drivers need roughly 3-5 seconds of clear sightline to register a sign: about 110-180 feet at 25 mph, or 200-330 feet at 45 mph. Drive the approach at the posted speed to confirm legibility.
Sightline and orientation checks:
- Face the sign toward the dominant direction of approach, not perpendicular to the road.
- Keep the face clear of tree limbs, utility boxes, mailboxes, and parked vehicles.
- On corner lots, angle the sign so it reads from both approaches.
- Avoid deep shade, a sign in shadow reads as neglected and is harder to photograph for listings.
Common placement mistakes:
- Setting the post inside the public right-of-way and getting a removal notice.
- Placing the sign too low so it disappears behind landscaping.
- Facing the sign away from the primary traffic flow.
- Clustering multiple signs so they compete for attention.
Placement succeeds when the sign is legal, visible from the dominant approach, and legible for the full sightline window. Confirm right-of-way and HOA limits before you mark the hole, then test the view from a moving vehicle at the posted speed.
Step 3: Prepare the Ground and Mark Your Holes
Mark the exact post location with marking paint or chalk.
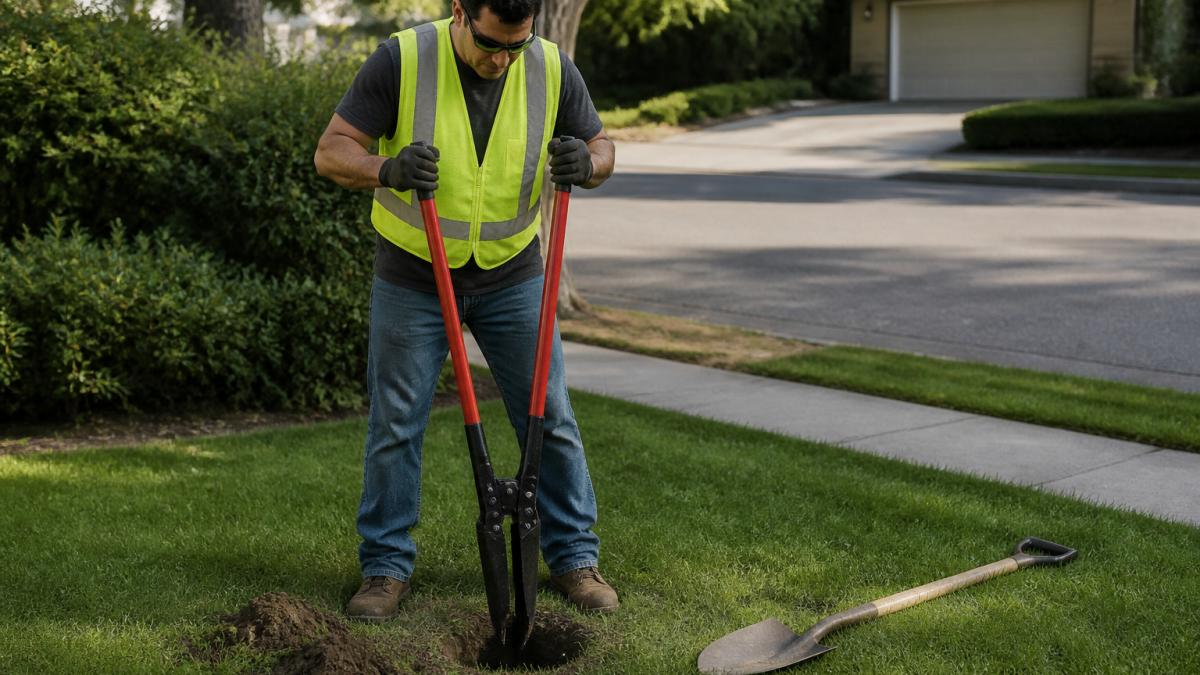
Marking process:
- Measure distances from property lines or reference points
- Mark the center point where the post will be installed
- Mark a secondary point 12 inches away for guy-wire anchors (if needed)
- Double-check measurements before digging
Inspect the ground for rocks, roots, or hard soil. These obstacles slow installation and can damage equipment. If you hit bedrock or dense clay, you may need a powered auger instead of a hand digger.
Soil type affects depth: sandy soil requires deeper holes, clay holds posts firmly but is harder to dig, and rocky soil needs careful positioning to avoid boulders.
Depth guidelines:
- Standard posts: 24-30 inches deep
- Larger vinyl real estate post installations: 30-36 inches deep
- Posts in sandy soil: add 6 inches to standard depth
- Posts on slopes: increase depth on the downhill side
Step 4: How to Secure a Real Estate Sign Post in the Ground
This is where your installation becomes permanent and stable. The post must be buried deep enough to resist wind and prevent leaning.
Installation steps:
- Dig the hole to your measured depth
- Remove loose soil from the bottom of the hole
- Place the post in the center of the hole
- Use a level to ensure the post is perfectly vertical
- Check alignment from multiple angles
- Backfill with soil or concrete mix
Concrete provides stronger anchoring than soil alone.
For vinyl real estate post installations, concrete is essential. The weight of the sign and wind pressure require solid support.
Wind resistance:
- Posts in open areas need deeper holes and concrete
- Posts near trees benefit from guy-wire anchors
- Bungee straps provide temporary wind bracing during installation
- Test stability by pushing the post firmly, it should not move
Triton Sign recommends concrete anchoring for all permanent installations, the upfront time prevents costly repairs and liability later.
Concrete anchoring works best for permanent real estate signs that need to withstand seasonal wind and weather exposure.
Step 5: Vinyl Real Estate Post Installation Instructions and Attachment
Once your post is secure and the concrete has cured, attach your sign.
Attachment methods:
- Bolts with washers and lock nuts (most secure)
- Lag bolts for wood posts
- Fastening brackets for vinyl posts
- Bungee straps for temporary signs
Bolted connections outlast all other methods. Use stainless steel or galvanized fasteners, regular steel fails within months in wet climates.
Vinyl real estate post installation tips:
- Drill pilot holes before inserting fasteners
- Use washers under bolt heads to prevent pulling through vinyl
- Tighten fasteners firmly but don’t over-torque (this cracks vinyl)
- Leave minimal gap between post and sign bracket
The sign should sit flush against the post with no gaps, which trap water and cause rust or rot.
Fastener spacing:
- Signs under 4 feet: minimum 2 fasteners
- Signs 4-6 feet: minimum 3 fasteners
- Signs over 6 feet: minimum 4 fasteners
Check all fasteners every 6 months. Wind and temperature changes loosen connections over time.
Step 6: Inspect, Align, and Test Stability
Your installation isn’t complete until you verify everything is secure and aligned, and until you have a plan for what happens after today.
Immediate inspection checklist:
- Confirm the post is plumb using a 4-foot level on two faces.
- Check that every fastener is snug (re-check after the first rain, wood and vinyl can compress).
- Verify the sign faces the correct direction and reads from the dominant approach.
- Confirm no gap between post and sign that could trap water.
A properly installed sign should not move under moderate hand pressure. If it shifts, tighten fasteners or add bracing before leaving.
Why alignment matters beyond looks:
- A crooked sign reads as a neglected property and undermines the listing.
- A twisted sign catches wind unevenly, accelerating loosening.
- A leaning post signals a shallow hole or settling soil.
Post-installation maintenance schedule:
- First week: Re-check fasteners after the first significant rain or temperature swing.
- Monthly: Visual check for lean, rust streaks, or loose hardware.
- Every 6 months: Tighten all fasteners, reapply weatherproof sealant to exposed wood, and re-test stability.
- After any storm: Inspect for lean, cracked concrete, or missing fasteners before the sign is left in place.
Repair guidance:
- Loose fastener: Replace, don’t just tighten. A fastener that has backed out once will back out again.
- Rust streaks: Replace carbon-steel fasteners with stainless or hot-dip galvanized hardware.
- Leaning post: Excavate one side, re-plumb, and re-pack with concrete or compacted gravel. Do not simply push it straight.
- Cracked concrete collar: Chip out the loose material and pour a fresh collar around the base.
- Cracked vinyl post: Replace the post, patched vinyl fails under wind load.
Removal checklist (when the listing ends):
- Remove the sign panel and hardware first, then the post.
- Pull the post straight up; do not pry against the concrete collar.
- Break up and remove the concrete collar if it sits above grade, or cut it flush and cover with topsoil.
- Backfill the hole in lifts and compact each lift so the ground doesn’t sink later.
- Restore the turf with seed or sod and water it in.
Documentation:
Photograph the finished installation from multiple angles and distances, and note the date. These images give you a baseline for future inspections, support deposit or damage disputes, and provide proof of proper installation if a liability question arises.
Set a recurring calendar reminder for the 6-month fastener and sealant check. Most sign failures trace back to a loose bolt or a dried-out seal that went unnoticed for a season.
Never leave a damaged or leaning sign in place after a storm. A partially failed post is a hazard to pedestrians and vehicles and can become a liability issue for the listing agent or property owner.
Common Installation Mistakes to Avoid
Learning from others’ mistakes saves time and prevents costly repairs.
Mistake 1: Skipping the utility check
The most dangerous error.
Mistake 4: Ignoring local regulations
Permit violations result in fines and forced removal.
Mistake 5: Poor fastener selection
Regular steel fasteners rust quickly in wet climates.
Mistake 6: Inadequate fastening
Signs need multiple bolts distributed across the attachment area.
Mistake 8: Neglecting maintenance
Installation is the beginning, not the end.
Installing real estate signs correctly protects your property, maintains your professional image, and ensures long-term durability. For custom signage and professional installation in your area, contact Triton Sign to discuss your project requirements and get a detailed estimate.
Frequently Asked Questions
How deep should a real estate sign post go into the ground?
Most real estate sign posts should be installed 24 to 36 inches deep for standard yard signs. The depth depends on post diameter, soil type, and expected wind exposure. Softer soil may require deeper installation for stability, while rocky soil may limit depth. Always check local building codes, as some jurisdictions specify minimum depths for safety and wind resistance.
What tools do you need to install a real estate sign post?
Essential real estate sign installation tools include a post hole digger or auger, level, tape measure, work gloves, and safety glasses. For vinyl posts, you may need a rubber mallet. A utility locator or call to 811 before digging helps you avoid underground utilities. Depending on soil type, a digging bar or mattock helps break up compacted or rocky ground.
How do you install a vinyl real estate sign post without damaging it?
Vinyl real estate post installation instructions emphasize gentle handling. Use a rubber mallet instead of a metal hammer to avoid cracking. Set the post in the hole straight, then backfill slowly with soil, tamping gently every few inches. Avoid driving the post with heavy force; vinyl can crack under impact. Check alignment frequently with a level as you backfill.
Can you install a real estate sign post in hard or rocky soil?
Yes, but it requires extra effort and the right tools. Use a post hole auger or digging bar to break through rocky soil. If bedrock is too shallow, you may need to adjust post depth or use a surface-mounted frame instead. In extremely difficult soil, consider hiring a professional installation service to ensure the sign is secure and meets local safety standards.