Table of Contents
- What You’ll Need Before Starting
- Seattle Sign Permit Requirements and Zoning Classification
- ADA Signage Compliance Standards for Construction Sites
- OSHA Construction Signage Requirements and Hazard Warnings
- Step-by-Step Permit Application Walkthrough
- Material Selection and Structural Compliance
- Common Mistakes to Avoid
- Fines and Non-Compliance Consequences
- Frequently Asked Questions
Last Updated: August 30, 2026
What You’ll Need Before Starting
Gather a detailed site survey showing property lines, existing structures, and sight lines; your zoning classification from the city assessor’s office; your property deed; and any existing easements or covenants restricting sign placement. If your project involves hazard warnings or safety signage, have your OSHA requirements documentation ready. Understand whether your signage falls under land use signs, MUP (Master Use Permit) signage, or standard commercial signage, this distinction shapes everything that follows.
Contact the city’s Department of Transportation (SDOT) early. They review construction signage compliance and establish baseline standards through Director’s Rules. A preliminary conversation with SDOT staff before design saves weeks of rework and clarifies exactly what documentation they need, what your site can support structurally, and whether your intended design conflicts with zoning restrictions.
Call SDOT’s sign permit division before you hire a designer. A five-minute conversation can prevent a complete redesign after you’ve already invested in mockups. They’ll point you to the specific Director’s Rule sections that apply to your property type and intended use.
Seattle Sign Permit Requirements and Zoning Classification
Your sign permit application hinges on understanding your property’s zoning classification. The city divides land into residential, commercial, industrial, and mixed-use zones, each with different rules for signage size, placement, lighting, and materials. Pull your property’s zoning classification from the city’s online GIS database or by calling the Department of Planning and Development. Zoning determines your baseline: maximum sign area, whether you can use illuminated or digital signage, and how far your sign must sit from property lines.
Understanding Land Use and MUP Signage
Land use signs indicate what activity happens on the property, construction site signs, “Coming Soon” retail signs, or directional wayfinding signs. MUP signage refers to signs associated with a Master Use Permit, required for certain land uses or developments needing additional scrutiny beyond standard zoning code. The distinction matters because MUP signage often requires additional approvals beyond a simple sign permit.
Construction site signage typically falls under land use sign regulations and must identify the project, contractor, and emergency contact information. These signs must be maintained in good condition throughout the project; faded, damaged, or illegible signs trigger violations.
Determining Your Sign Type and Zoning Restrictions
Different sign types face different restrictions. Wall-mounted signs must comply with setback requirements and cannot exceed the width of the building facade or a percentage of facade area. Monument signs require minimum setback from the street and are subject to height restrictions. Awning signs cannot extend more than a certain distance over the sidewalk and must maintain minimum clearance from the ground.
Zoning restrictions also govern sign materials, colors, and lighting. Some zones prohibit neon or digital displays; others restrict certain colors or require high-contrast designs for visibility. Illuminated signs may have brightness limits to prevent glare on adjacent properties.
ADA Signage Compliance Standards for Construction Sites
ADA compliance is mandatory and applies to construction site signage that directs the public, including wayfinding signs, temporary entrances, and information signs. The Americans with Disabilities Act requires signs to be accessible to people with visual impairments, mobility limitations, and other disabilities. Non-compliance invites lawsuits, fines, and forced remediation.
Braille, High-Contrast, and Legibility Requirements
Permanent signs identifying rooms, spaces, or directions must include Grade 2 Braille (contracted Braille), raised at least 0.02 inches above the surface and positioned immediately below the text. Text must be sans-serif, uppercase and lowercase (not all-caps), with a width-to-height ratio between 3:5 and 1:1 (ada.gov).
High-contrast is critical. Text and background must have a contrast ratio of at least 3:1 for small text and 4.5:1 for large text (ada.gov). Black text on white background works; light gray on white does not. Legibility depends on character height and viewing distance: 1 inch of character height for every 10 feet of viewing distance. A sign meant to be read from 30 feet away needs 3-inch characters minimum.
Mounting height matters. Signs identifying permanent rooms or spaces must have the bottom mounted between 48 and 60 inches from the floor, allowing someone in a wheelchair to read comfortably.
A sign that looks great visually but fails contrast or legibility standards creates liability. ADA violations can result in lawsuits and orders to replace non-compliant signage at your expense. Test contrast ratios and character heights before fabrication.
OSHA Construction Signage Requirements and Hazard Warnings
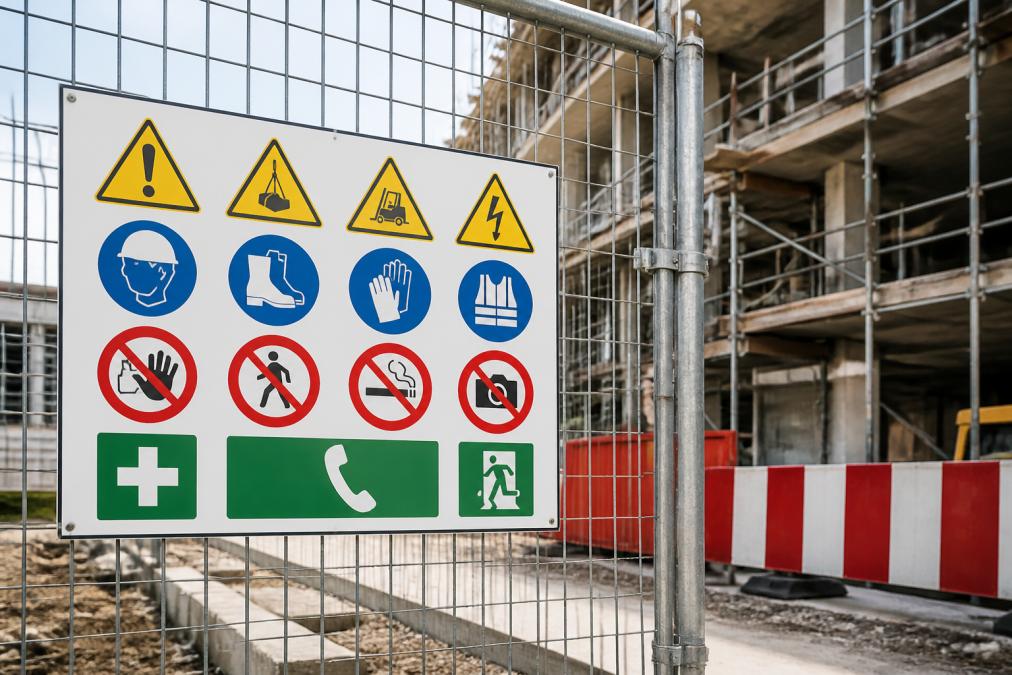
OSHA requires construction sites to display hazard warnings and safety signage alerting workers and the public to potential dangers. These signs must use the ANSI Z535 format, specifying color, layout, and messaging. The standard format includes a signal word (DANGER, WARNING, or CAUTION), a hazard statement, and instructions for avoiding the hazard. Colors are specific: red for danger, orange for warning, yellow for caution.
Safety Signage Placement and Visibility Standards
Hazard warning signs must be placed where the hazard exists or where workers and the public might encounter it. A sign warning of excavation work must be visible from the approach to the excavation. The sign must be large enough to be read from the distance where hazards are present. Most construction sites use signs readable from at least 10-15 feet away. Signage must be maintained in good condition throughout the project; faded, damaged, or partially obscured signs don’t meet OSHA requirements.
OSHA hazard warnings are enforceable safety requirements. Non-compliance can result in citations, fines, and work stoppages. Treat them as seriously as you treat structural safety.
Step-by-Step Permit Application Walkthrough
The permit application process for compliant construction signage takes 4-8 weeks from submission to approval, depending on complexity (seattle.gov).
Completing the Site Survey and Field Review
Start with a professional site survey showing property lines, existing structures, utilities, trees, sight lines, and any easements or restrictions. The survey must show where you intend to place your signage and confirm compliance with setback requirements. Conduct a field review by walking the site and photographing existing conditions. Note sight lines from the street, adjacent properties, and points where the public or workers will approach. Field conditions often differ from property records, and catching discrepancies early saves rework.
Submitting Your Application to SDOT
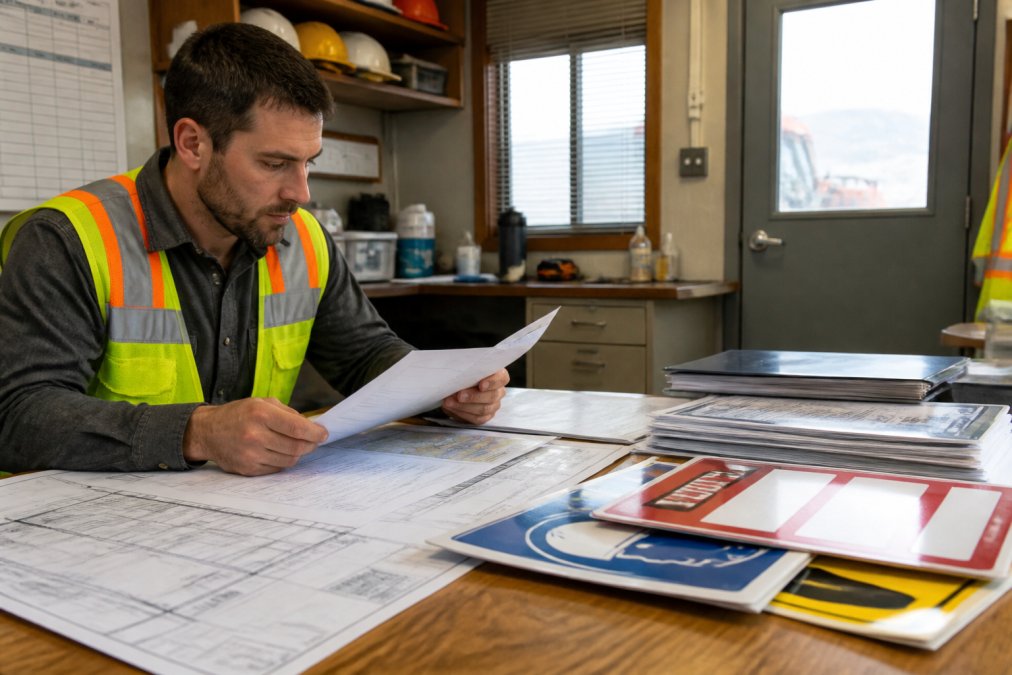
Prepare your permit application with a completed application form, detailed site plan showing sign location and dimensions, design drawing showing the sign’s appearance from all visible angles, structural calculations if the sign is freestanding or wall-mounted, and proof of property ownership or authorization. If your signage includes Braille or other ADA elements, include documentation showing compliance.
The site plan must show setback distances, property lines, existing structures, and any easements. The design drawing must include dimensions, materials, colors, and lighting specifications. Submit your application to SDOT through their online portal or in person. If your application is incomplete or non-compliant, SDOT will issue a deficiency notice requesting additional information or design changes. This back-and-forth can add 2-4 weeks to the timeline. Once SDOT approves your application, you receive a permit valid for a specified period, typically 6-12 months, authorizing you to install the signage.
Material Selection and Structural Compliance
The materials you choose determine durability, maintenance requirements, and long-term compliance. Poor material choices lead to fading, deterioration, and eventual non-compliance as signage becomes illegible or unsafe.
Durability Requirements: Marine Grade Plywood and Corrugated Plastic
Marine grade plywood resists moisture and weather damage better than standard plywood, using exterior-grade adhesives and higher-quality veneers. It withstands rain, snow, and temperature fluctuations without delaminating or warping, making it suitable for signage remaining on site for months.
Corrugated plastic offers another option. It’s lightweight, weather-resistant, and easy to cut and modify. It doesn’t rot or warp like wood and resists UV fading better than some alternatives. The choice depends on the sign’s size, expected lifespan, and environmental conditions. A large freestanding sign needs the rigidity of plywood. A smaller temporary sign might work fine with corrugated plastic.
Installation Standards and Structural Integrity
Installation must ensure that signage remains secure and stable throughout its intended lifespan. For wall-mounted signs, fasteners must penetrate the substrate to a depth providing adequate holding power. Fasteners must be corrosion-resistant, stainless steel or galvanized, to prevent rust and deterioration. For freestanding signs, the base must resist wind loads and prevent tipping. Wind load calculations must account for your location’s typical wind speeds. Installation must also account for accessibility, and maintenance is part of compliance; signage must be inspected regularly and repaired or replaced if damage occurs.
Common Mistakes to Avoid
Skipping the zoning check is the most common error. Project managers design signage based on aesthetics or budget without confirming compliance with zoning restrictions. Then, when submitting for permits, they discover the sign exceeds allowed size, violates setback requirements, or uses prohibited materials.
Underestimating the permit timeline is another frequent mistake. Many teams assume approval takes 2-3 weeks. In reality, SDOT often issues deficiency notices requiring additional information or design changes. Plan for 6-8 weeks to prevent schedule pressure leading to shortcuts.
Neglecting ADA compliance is surprisingly common. Teams focus on visibility and attractiveness but overlook contrast ratios, character heights, or Braille requirements, creating liability and forcing costly remediation.
Choosing inadequate materials to save cost is another trap. Cheap plywood warps and delaminates; thin corrugated plastic flexes and bows. Quality materials cost more upfront but deliver better durability and lower lifetime cost.
Installing without proper fasteners or anchoring is a safety failure. A sign that fails and falls creates immediate liability.
Rushing installation to meet a deadline often leads to shortcuts creating compliance problems. A sign installed correctly but late is better than a sign installed early but wrong. Non-compliance creates fines, forced removal, and liability that dwarf any schedule savings.
Fines and Non-Compliance Consequences
Non-compliance with signage code carries real consequences. Code enforcement action begins with a notice of violation requiring correction within 15-30 days. If you don’t correct the violation, the city issues a citation with a fine. Fines vary depending on violation severity and duration but can reach several hundred dollars per day for ongoing violations.
If signage creates a safety hazard, structural failure risk, visibility obstruction, or hazard warning absence, the city can issue an emergency order requiring immediate removal and bill you for removal costs.
ADA violations carry additional consequences. The city enforces ADA compliance through code enforcement, but individuals can also sue for ADA violations under the Americans with Disabilities Act. ADA lawsuits result in damages, attorney fees, and court-ordered remediation. A single ADA violation can cost thousands in legal fees and remediation.
Beyond legal consequences, non-compliance damages your reputation and credibility. The cost of compliance, proper design, engineering, permitting, and installation, is far lower than the cost of non-compliance. Getting it right the first time is always the better choice.
Compliant construction signage requires attention to zoning requirements, ADA standards, OSHA safety regulations, and structural integrity. The process involves site surveys, permit applications, material selection, and professional installation. At Triton Sign, we guide project managers through every step of this process, ensuring that your signage meets all applicable code requirements while maintaining visual impact and durability. Our team handles technical details, zoning verification, structural calculations, ADA compliance documentation, and SDOT coordination, so your project stays on schedule and within compliance. With over 30 years of experience in custom signage design and installation, we understand the regulatory landscape and practical requirements of construction sites. Contact us to discuss your compliant construction signage needs and get expert guidance on permitting, materials, and installation.
Frequently Asked Questions
Do construction site signs require a permit in Seattle?
Yes. Most construction site signage requires a building permit in Seattle, particularly signs over 6 feet tall, those in public right-of-way, or any temporary signage lasting more than 30 days. The permit process involves submitting site plans, confirming ADA compliance, and obtaining SDOT Director’s Rule approval. Exemptions exist for small temporary signs under specific size and duration limits, but verifying your project’s requirements with the city before installation prevents costly removals or fines.
What are the requirements for oversize load signage and construction hazard warnings?
OSHA construction signage requirements mandate that hazard warnings be visible from at least 20 feet away with high-contrast colors (typically yellow and black or red and white). Signs must clearly identify the hazard type: fall protection, equipment operation, confined space, or chemical storage. Placement at entry points and near the actual hazard is mandatory. Text must be legible without magnification from the required distance, and signs remain in place until the hazard is eliminated or properly guarded.
How do I ensure my construction signage meets ADA standards?
ADA signage compliance standards require permanent identification signs to include Grade 2 Braille, raised letters, high-contrast backgrounds (typically dark text on light or vice versa), and sans-serif typefaces with character heights between 5/8 inch and 2 inches. Mounting height must be 48 to 60 inches from floor to center of sign. For temporary construction signage, ADA requirements are less stringent, but directional wayfinding and safety notices should still follow high-contrast and legibility principles to serve all site visitors.
What happens if my construction signage doesn’t comply with Seattle regulations?
Non-compliant signage can result in removal orders, fines ranging from $100 to several thousand dollars depending on violation severity, and project delays while corrections are made. Unpermitted signage is subject to immediate removal by the city. Repeated violations may trigger additional penalties and impact future permit approvals. Working with experienced sign professionals who understand Seattle zoning requirements, SDOT Director’s Rule, and local inspection standards prevents these costly consequences and ensures smooth project completion.
This article was written using GrandRanker