Last Updated: October 22, 2026
Quick Summary
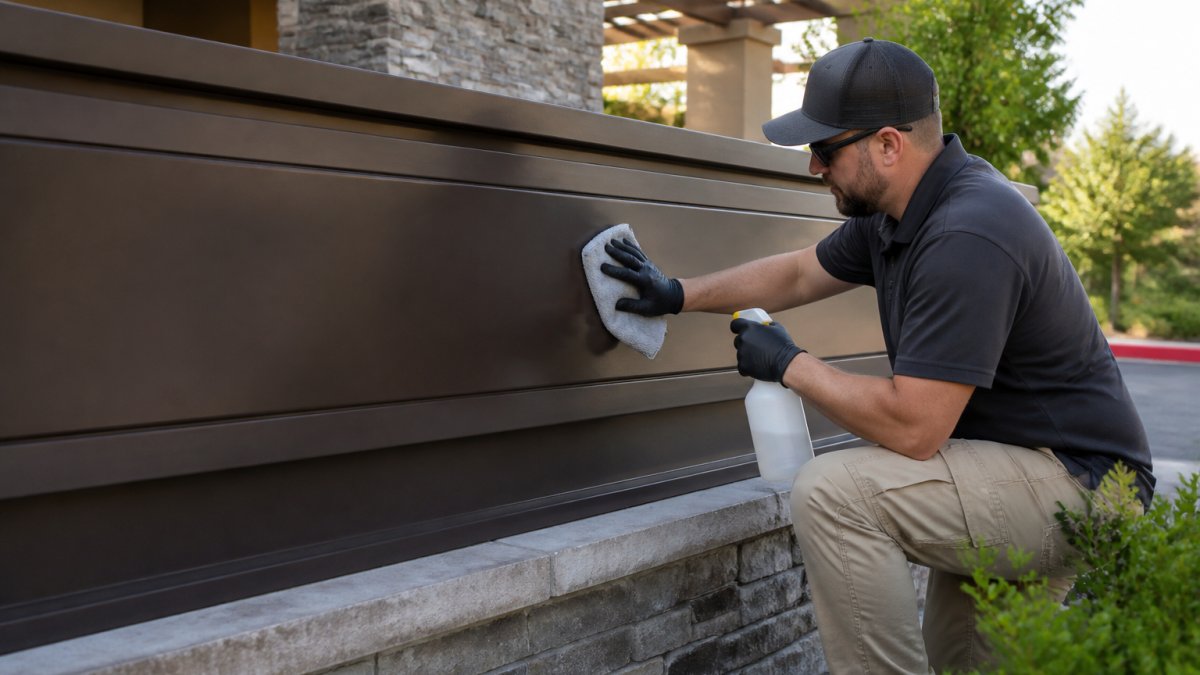
Regular inspection, gentle cleaning, and quick repairs are what extend the life of outdoor signs. Run a quarterly inspection checklist, wash surfaces with mild dish soap and lukewarm water using a soft cloth, and repair small damage before it spreads. Document each inspection with dated photos so you can track fading, rust, and corrosion over time.
- Run a full sign inspection every quarter and after any major storm.
- Clean signs with mild dish soap and lukewarm water, never in direct sunlight.
- Skip pressure washers, steel wool, bleach, ammonia, and solvent-based cleaners.
- Rinse road salt off lower sign sections after winter storms.
- Keep a sign log with dates, photos, repairs, and the next inspection date.
Table of Contents
- Why Outdoor Signs Age Faster Than You Expect
- Your Outdoor Sign Inspection Checklist
- Outdoor Sign Cleaning and Maintenance Done Right
- Seasonal Outdoor Signage Maintenance for Heat, Snow, and Salt
- Material-Specific Care for Acrylic, Metal, and Wood Signs
- Electrical Safety and Troubleshooting for Illuminated Signs
- Outdoor Sign Repair and Replacement: When to Fix vs. Replace
- Documenting Inspections and Tracking Sign Condition
- Frequently Asked Questions
Why Outdoor Signs Age Faster Than You Expect
Outdoor signs are your brand’s hardest-working employee. They stand in the sun, rain, wind, and road spray every single day, and they never get a day off.
The core problem is simple: most businesses treat signage as a one-time purchase, not an asset that needs care. Fading starts on the sun-facing side first. Water gets behind a seal and freezes.
So what actually extends sign longevity? Regular inspection, gentle cleaning, and quick repairs. Below, we break down a practical maintenance routine for outdoor signs, starting with a checklist you can use today.
The cheapest sign repair is the one you prevent. A 15-minute inspection every quarter catches most problems while they are still small.
Your Outdoor Sign Inspection Checklist
An outdoor sign inspection checklist is a short, repeatable set of checks you run on a schedule to catch wear and tear before it becomes a repair. It covers three things: what you can see from the ground, what needs a closer look up close, and how the sign is physically attached.
Run this inspection every quarter, and after any major storm. Here is what to check.
What to Look At From the Ground
Start where your customers see the sign. Stand across the street and look at it in daylight, then again at dusk if it is illuminated.
- Visibility: Is any part of the sign blocked by tree growth, new construction, or debris?
- Fading: Compare the sign face to a photo from installation day. Color shift shows up first on the sunniest side.
- Dead sections: For illuminated signs, scan for dark letters, flickering segments, or uneven brightness.
- Dirt and grime: Look for streaking, pollen buildup, bird droppings, and dead insects trapped in channel letters.
- Lean or sag: A sign that looks crooked from the ground usually means a loose bracket or a failing joint.
What Needs a Closer Look Up Close
Ground checks miss the damage that matters most. Get close, or bring in a professional with the right equipment, to check these:
- Sealant and gaskets: Look for cracks, peeling, or gaps where water can get behind the sign face.
- Rust and corrosion: Check the bottom edge of metal frames and every bracket, where water pools.
- Mounting hardware: Test bolts and anchors for tightness. Look for rust streaks around fasteners.
- Sign face condition: Feel for cracks, bubbling, or delamination on acrylic faces.
- Wiring and conduit: For illuminated signs, check for cracked insulation, water in the junction box, or loose connections.
Never tighten a loose bracket and call it fixed. A bracket that worked loose usually means the anchor is failing too. If the sign moves when you push it gently, stop and get it inspected professionally before it becomes a fall hazard.
Outdoor Sign Cleaning and Maintenance Done Right
Most outdoor sign cleaning and maintenance comes down to one principle: use the gentlest method that removes the dirt. Harsh chemicals and abrasive tools clean fast and damage faster. They strip protective coatings, dull acrylic, and leave fine scratches that trap more dirt next time.
Mild Soap, Water, and the Right Cloth
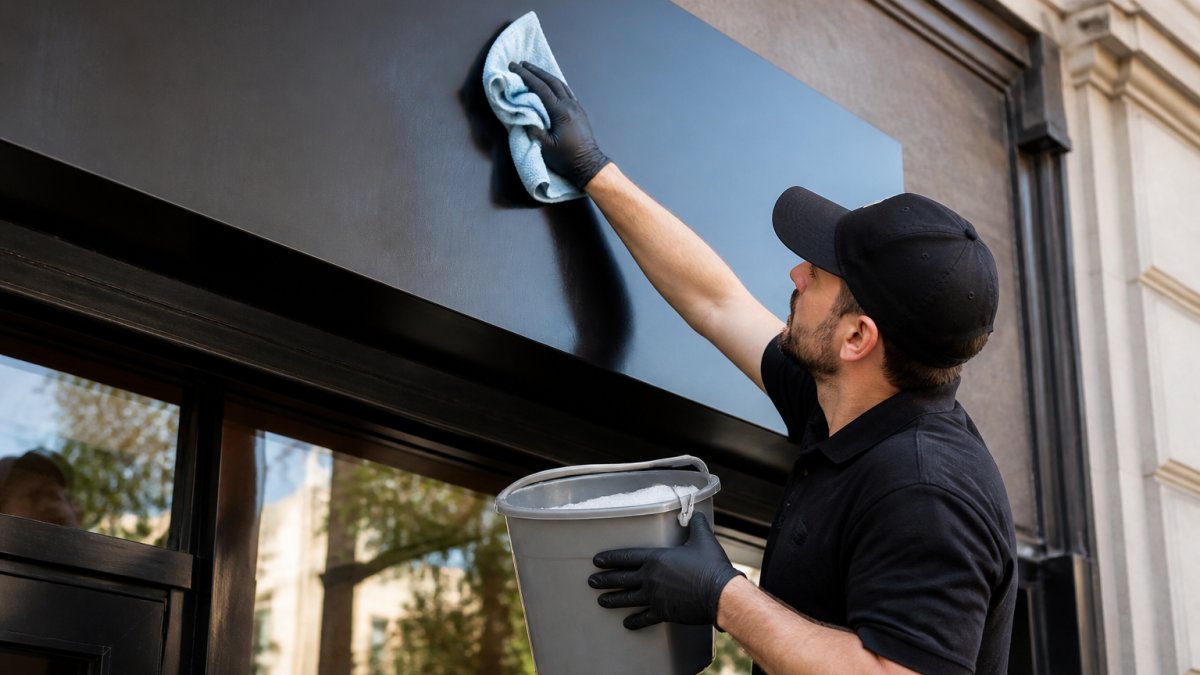
The safe routine works for acrylic, metal, and most painted surfaces. Mix a few drops of mild dish soap into a bucket of lukewarm water. Use a soft cloth, sponge, or soft-bristle brush. Work top to bottom so dirty water does not streak clean sections.
- Rinse with clean water before the soap dries.
- Dry with a soft, lint-free cloth to prevent water spots.
- Clean in the early morning or on an overcast day, never in direct sunlight when the surface is hot.
- Clean more often in pollen season and after winter road spray.
- Never use a dry cloth on a dusty sign face. Wipe down first, or you will grind grit into the surface.
Pressure Washers and Abrasive Cleaners: What to Avoid
A pressure washer is the fastest way to ruin a sign. High pressure forces water behind seals, strips paint and vinyl, and cracks aged acrylic. If you must use one, keep it on the lowest setting, hold it well back from the surface, and never aim at seams, gaskets, or electrical components.
Skip these entirely:
- Abrasive scrubbers, steel wool, and scouring pads
- Solvent-based cleaners, bleach, and ammonia on acrylic
- Acid-based cleaners on metal
- Window-cleaning squeegees on vinyl graphics
The acrylic care guidance from Plastics Industry Association makes the same point: mild soap and water protect the surface, while solvents cause crazing and cracking over time.
Seasonal Outdoor Signage Maintenance for Heat, Snow, and Salt
Seasonal outdoor signage maintenance is the difference between a sign that survives ten years and one that needs replacement in five. Each season brings a different threat, and each needs a different response.
Summer heat and UV exposure. Direct sunlight fades vinyl and paint and makes acrylic brittle.
Fall prep. Clear leaves and debris from sign cavities and mounting areas before winter. Debris holds moisture against metal and speeds corrosion.
Winter snow, ice, and road salt. Never chip ice off a sign face with a tool. Let it melt or rinse it with lukewarm water.
Spring inspection. After the thaw, look for water damage, rust bloom, and cracked sealant. This is the best time to catch winter damage before it spreads.
Photograph your sign at the same angle each season. Side-by-side photos make fading and corrosion obvious in a way that memory never does.
Material-Specific Care for Acrylic, Metal, and Wood Signs
Different materials fail in different ways, so a single cleaning routine will not serve all of them. Match your care to the material.
| Material | Main Threat | Safe Cleaning | Watch For |
|---|---|---|---|
| Acrylic | Solvents, scratching | Mild soap, soft cloth, lukewarm water | Crazing, cracks, cloudiness |
| Metal | Rust, corrosion | Mild soap, rinse, dry, touch up paint | Rust streaks at brackets and edges |
| Wood | Moisture, rot | Mild soap, let dry fully, reseal yearly | Soft spots, peeling finish, splitting |
| Vinyl graphics | UV fading, edge lift | Gentle wash, no pressure, no solvents | Curling edges, color shift |
Acrylic scratches easily and reacts badly to ammonia and solvents. Use a soft cloth only, and never wipe a dry surface.
Metal needs its protective coating intact. Touch up chips and scratches promptly; a small paint touch-up stops rust before it spreads.
Wood signs need an annual sealant or finish refresh.
Vinyl graphics on windows or sign faces should be washed gently by hand.
Electrical Safety and Troubleshooting for Illuminated Signs
Illuminated signs add a safety layer that most maintenance guides skip. Water and electricity do not mix, and a sign that flickers or dims is telling you something is wrong.
Follow these rules:
- Turn off power at the breaker before any inspection or cleaning near wiring. This is not optional.
- Never touch exposed wiring, a cracked junction box, or a sign that is wet near electrical parts. Call a licensed electrician.
- Watch for the warning signs: flickering, partial outages, buzzing, water stains inside the sign, or a tripped breaker.
- Check the power supply and connections for corrosion and loose fittings during dry-weather inspections.
- Keep the sign’s drain holes clear so water cannot pool around electrical components.
If a section of the sign is dark, the cause is usually a failed power supply, a bad connection, or water intrusion. Diagnose with the power off, and let a qualified technician handle anything beyond a visual check.
Outdoor Sign Repair and Replacement: When to Fix vs. Replace
The fix-or-replace call is where owners waste the most money, in both directions. Patch a failing sign too long and you pay for repeated repairs plus a worse-looking brand. Replace too early and you throw away a sign with years left in it.
Use this decision framework:
- Repair when the damage is cosmetic or isolated: one dead power supply, a faded panel, a loose bracket, chipped paint.
- Replace when the sign face is cracked or crazed across the whole surface, the frame is rusted through, or repairs have become a yearly habit.
- Also replace when the sign no longer matches your brand or fails visibility standards, no matter its physical condition.
Get a professional assessment before deciding. A full-service sign partner can tell you whether a repair will actually last.
That is where Triton Sign comes in. We design, fabricate, and install signage, and we stand behind the work.
Documenting Inspections and Tracking Sign Condition
Documentation is the step everyone skips, and it is the one that saves the most money. A written record turns guesswork into a maintenance plan.
Keep a simple sign log with these fields:
- Date and inspector name
- Sign location and type
- What was checked, and the condition found
- Photos from the same angle each time
- Repairs made, and by whom
- Next inspection date
Track condition over time, and patterns appear. If the same bracket rusts every year, the real problem is drainage or coating, not the bracket.
This log also pays off at budget time. You can plan repairs and replacements instead of reacting to emergencies.
A sign log with dated photos is your best evidence for warranty claims, budget requests, and proving your maintenance program is working.
Every outdoor sign will eventually face sun, salt, and storms.
If your inspection turns up fading, corrosion, or electrical trouble, do not patch it and hope.
Frequently Asked Questions
How often should outdoor signs be cleaned and inspected?
Most outdoor signs benefit from a visual inspection every month and a full cleaning every three to six months. Signs facing direct sunlight, road traffic, or heavy pollen should be checked more often. Illuminated signs need the same schedule plus a check that all bulbs and the power supply are working. After any major storm, snow event, or long stretch of summer heat, walk the sign again. Keep a simple log of each inspection so you can spot fading, rust, or loose brackets before they turn into a repair bill.
What is the best way to clean an outdoor sign without damaging it?
Start with a soft cloth or sponge and a bucket of mild soap and water. Rinse with clean water and dry the sign face to prevent water spots. Avoid abrasive scrubbers, steel wool, and harsh chemicals, which can scratch acrylic, dull a protective coating, or strip paint from metal. Skip the pressure washer on sign faces and channel letters, since high pressure can force water behind seals and into electrical components. For stubborn grime, pollen, or dead insects, let the soapy water sit for a few minutes before wiping gently.
How do you prevent fading on outdoor signs?
Fading comes from UV exposure and direct sunlight, so the best defense is a UV-resistant protective coating or sealant applied during fabrication and refreshed over time. Choose fade-resistant materials and inks when the sign is built. In practice, keep the sign face clean so dirt does not trap heat, and check for chalky or dull patches during your outdoor sign inspection checklist. If a sign face is fading unevenly, that usually means sun exposure is worse on one side, which is worth noting for the next replacement.
When should an outdoor sign be repaired or replaced?
Repair makes sense when the problem is isolated: a loose bracket, a failed bulb, a small chip, or a seal that needs resealing. Replacement is the better call when the sign face is heavily faded or cracked, when rust and corrosion have spread through the frame, or when repairs cost more than half the price of a new sign. Structural instability at the mounting hardware is a safety issue and should be fixed or replaced right away. Document each issue with a photo and date so the repair-versus-replacement decision is based on a record, not a guess.