Table of Contents
- Why Outdoor Business Signs Age Faster Than You Think
- Your Outdoor Sign Cleaning Checklist
- How to Protect Metal Signs From Fading
- Illuminated Sign Maintenance: Bulbs, Wiring, and Water Intrusion
- What Determines Outdoor Sign Lifespan
- Safety Procedures for Cleaning and Inspecting Signs
- Repair or Replace? Weighing Maintenance Costs
- Frequently Asked Questions
Last Updated: October 19, 2026
Why Outdoor Business Signs Age Faster Than You Think
Outdoor business signs take a beating daily from sun, rain, dust, and temperature swings.
The hard truth most guides skip: the sun does more damage than rain.
A simple cleaning checklist and a few smart habits add years to any sign’s life. Below, we break down how to maintain outdoor business signs for longevity, from washing steps to repair-or-replace calls.
The biggest threat to outdoor business signage is not storms. It is slow UV damage and dirt buildup. Routine care beats emergency repairs every time.
Your Outdoor Sign Cleaning Checklist
A good cleaning routine is the core of sign maintenance: remove dirt and grime before they bond, and never scratch the finish. A checklist only works if you know how often to run it and which products are safe for your sign’s material.
Recommended Cleaning Frequency
Cleaning frequency depends on exposure and environment. Start with this schedule, then adjust to how quickly your sign soils:
- High-traffic, street-level signs: every 2-4 weeks, because vehicle exhaust, dust, and hand contact accumulate quickly.
- Signs in dusty or industrial areas: every 4-6 weeks, or after any visible dust event.
- Coastal or salt-air locations: every 3-4 weeks, and rinse with fresh water after storms to remove salt residue.
A simple rule: if you can write your name in the dust on the sign face, it is past due.
Step 1: Rinse Loose Dirt Before You Touch the Surface
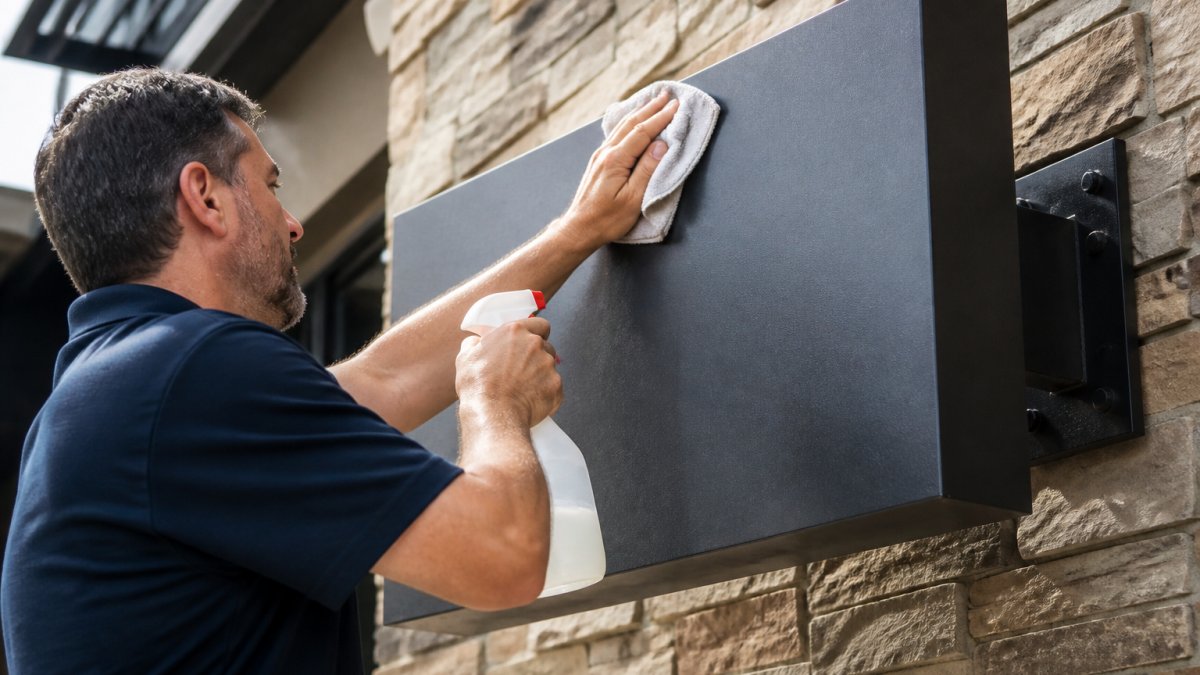
Start with plain water from a garden hose. Rinse the whole sign, top to bottom, to float away dust and loose grit. Dry dirt acts like sandpaper, scrubbing a dusty sign grinds particles into the finish and causes permanent damage. Skip the pressure washer; high pressure forces water into seams and can strip paint.
Step 2: Wash With Mild Soap and a Soft Cloth
Mix a few drops of mild soap into a bucket of water. Use a soft cloth or sponge, never a scrub pad or stiff brush. Work in small sections and let the soap do the work.
Never use abrasive cleaners, bleach, or solvents on painted or acrylic signs. They cloud the surface and strip the protective coating. The damage shows up as dull, chalky patches that no amount of washing will fix.
Step 3: Rinse Thoroughly and Dry the Edges
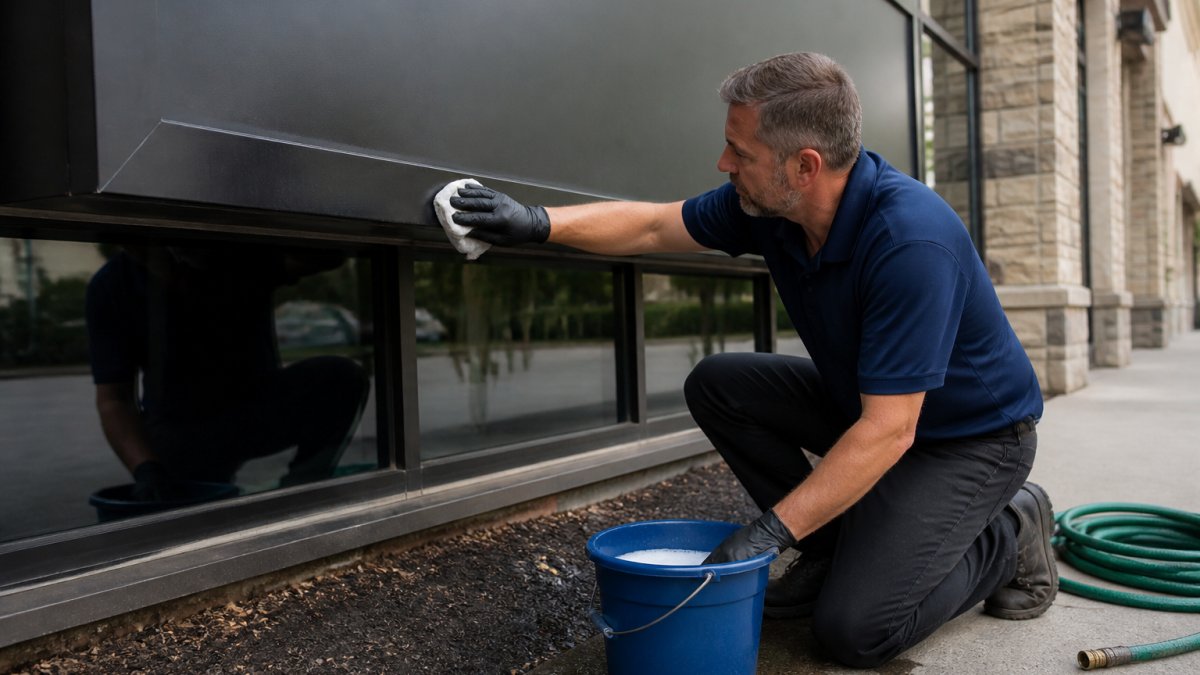
Rinse every trace of soap off the surface, leftover film attracts dirt and leaves streaks. Then dry the edges and seams with a clean cloth. Standing water creeps into joints and drives moisture damage, mold, and rust; a quick dry prevents a much bigger problem later.
Material-Specific Cleaner Compatibility
Not every cleaner is safe for every substrate. Use this table as a quick reference before you spray or scrub:
| Sign Material | Safe Cleaners | Cleaners to Avoid | Why |
|---|---|---|---|
| Acrylic (plexiglass) | Mild dish soap, water, plastic-safe cleaner | Ammonia-based glass cleaners, alcohol, acetone | Ammonia and solvents can craze or cloud the surface |
| Aluminum (painted or anodized) | Mild soap, water, non-abrasive automotive wash | Acidic cleaners, bleach, abrasive polishes | Acid etches the finish; abrasives dull the sheen |
| Vinyl (cut or printed) | Mild soap, water, vinyl-specific cleaner | Solvents, alcohol, harsh degreasers | Solvents soften adhesive and fade print |
| Painted steel | Mild soap, water, car-wash soap | Acidic wheel cleaners, bleach | Acid promotes rust at seams and scratches |
| Wood | Mild soap, water, wood-safe cleaner | Pressure washing, bleach | Water forces grain swelling and bleach strips stain |
When in doubt, test a small inconspicuous area first and wait 24 hours before cleaning the full face.
Monthly and Seasonal Inspection Checklist
Cleaning is the moment to inspect. Run through this quick checklist each time you wash, and do a deeper pass seasonally:
- Monthly (during cleaning): Look for new scratches, chips, or fading; check that all fasteners are tight; confirm the sign face is legible from the street.
- Seasonal (spring and fall): Inspect seals and gaskets for cracks; check for water stains inside illuminated cabinets; look for rust at mounting points; verify that drainage paths are clear.
- Annually: Review the full sign from a distance and up close; photograph any deterioration; compare against manufacturer care instructions and warranty terms.
Keep a simple maintenance log, date, task performed, and any issues noted. Dated photos taken during each seasonal inspection create a record that supports warranty claims and makes repair-versus-replace decisions easier.
How to Protect Metal Signs From Fading
Metal signs last longer than most people expect, but fading is the weak spot, the fix is protection, not just cleaning. Aluminum resists rust well, but its paint and vinyl still fade under UV exposure. A UV-resistant clear coat acts like sunscreen, absorbing the sun’s worst rays and keeping colors vibrant.
Here is what we recommend:
- Apply a UV-resistant protective coating after cleaning, once the surface is fully dry.
- Reapply it on a schedule. Most coatings need a fresh layer every year or two.
- Use UV-resistant vinyl for any lettering or graphics.
A faded sign reads as a neglected business; a coated one stays vibrant and legible for years longer.
Illuminated Sign Maintenance: Bulbs, Wiring, and Water Intrusion
Illuminated signs mix electricity with weather, so routine checks matter. When something goes wrong, you need a diagnostic sequence that tells you what to check first and when to call a professional.
Routine Checks for Illuminated Signs
Build these into your maintenance schedule:
- Monthly visual check at dusk: Turn the sign on and observe from the street. Note any dark segments, uneven brightness, or flicker.
- Quarterly close inspection (power off): Look for water stains, fogging, or condensation inside the cabinet; check seals and gaskets for cracks; inspect wiring for rodent damage or corrosion.
- Annually: Have a licensed sign technician verify electrical connections, ballasts, and grounding.
Check illuminated signs at dusk, when the light is even. Failing bulbs and uneven glow stand out far more clearly than in full daylight.
Troubleshooting Common Failures
When an illuminated sign misbehaves, work through these checks in order. Always shut off power at the breaker before opening any cabinet or touching wiring.
1. Flickering or intermittent light
- Most common causes: a loose lamp connection, a failing ballast (in fluorescent systems), or moisture in the socket.
- What to check: With power off, reseat lamps and inspect sockets for corrosion. If the sign uses LED modules, check the driver connections. If flicker persists after reseating, the ballast or driver is the likely culprit, call a technician.
2. Dimming or uneven brightness
- Most common causes: aging lamps, a failing power supply, or voltage drop from corroded wiring.
- What to check: Compare brightness across the sign face. If one section is dim, swap a known-good lamp into that position (power off) to isolate whether the lamp or the circuit is at fault. If multiple sections dim together, suspect the power supply or incoming voltage.
3. Partial or complete outage
- Most common causes: tripped breaker, failed driver or ballast, or water intrusion causing a short.
- What to check: Confirm the breaker is not tripped. If it resets and trips again, stop, there is a fault that requires a licensed electrician. Do not repeatedly reset a breaker feeding a wet sign.
4. Water intrusion and moisture damage
- Warning signs: fogging inside the cabinet, water stains on the face, rust at seams, or a warm, acrid smell near wiring.
- What to check: Inspect gaskets and seals for cracks or gaps. Look for standing water in the bottom of the cabinet. If moisture has reached electrical components, shut off power and call a sign technician, do not attempt to dry or repair energized components yourself.
5. Buzzing, humming, or a warm smell
- Most common causes: a failing ballast, loose wiring, or overheating due to blocked ventilation.
- What to check: Confirm ventilation openings are clear. If the sound or smell persists after cleaning vents, shut off power and call a professional.
Never spray water directly at an illuminated sign’s cabinet seams or wiring. Water intrusion into electrical parts can cause shorts and shock. Shut the power off first, and let a pro handle anything electrical.
When to Call a Licensed Sign Technician
Some tasks are safe for a facilities team; others are not. Call a qualified sign technician or licensed electrician when:
- You need to open a sign cabinet that contains wiring or a power supply.
- A breaker trips repeatedly or will not reset.
- You find water inside the cabinet or evidence of corrosion on electrical parts.
Document each service call, date, technician, issue found, and parts replaced, so you can track recurring problems and make an informed repair-versus-replace decision later.
What Determines Outdoor Sign Lifespan
Outdoor sign lifespan depends on four things: material, climate, installation quality, and care. Get all four right and a sign serves you for many years.
| Factor | What Shortens Life | What Extends It |
|---|---|---|
| Material | Cheap substrates, thin vinyl | Aluminum and high-impact materials |
| Climate | Heavy sun, salt air, freeze-thaw cycles | UV-resistant finish, protective coating |
| Installation | Poor sealing, weak mounts | Proper sealing and secure mounting |
| Care | No cleaning, ignored damage | Routine cleaning and inspection |
Material choice is the biggest lever: high-impact materials cost more upfront but outlast cheap options by a wide margin. You cannot control climate, but you can choose finishes built for weather exposure. Installation matters too, a poorly sealed sign invites moisture damage from day one, which is why we treat fabrication and installation as one job.
Safety Procedures for Cleaning and Inspecting Signs
Cleaning a sign means working near heights, water, and sometimes electricity. Follow these rules:
- Work from the ground when you can. Use long-handled tools for low signs.
- Use a stable ladder or lift for anything overhead. Never lean out or overreach.
- Check the weather. Skip cleaning in high wind or storms.
Repair or Replace? Weighing Maintenance Costs
Every sign eventually forces a decision: keep fixing it or start fresh. The answer comes down to cost per year, not sticker price. Ask:
- How often are you repairing it? Constant fixes add up fast.
- Is the damage structural? Rust, corrosion, and failing mounts are hard to reverse.
- Has the look faded? A sign that no longer reads clearly is losing you customers.
Rough guide: if yearly repair costs keep climbing and the sign is well past its expected life, replacement usually wins.
Routine maintenance is cheaper than replacement, but only up to a point. Once repairs become frequent and the sign looks worn, a new sign pays for itself in visibility and reliability.
Every outdoor business sign faces the same enemies: sun, water, dirt, and time.
Triton Sign brings over 30 years of combined experience to design, fabrication, and installation.
Ready to protect your brand’s visibility? Contact Triton Sign to plan maintenance or a new sign that is built for the long haul.
Frequently Asked Questions
How often should outdoor business signs be cleaned?
Most outdoor business signs need a full wash every three to six months, with a quick rinse in between if you notice dust buildup or dirt and grime collecting on the face. Signs near busy roads, construction dust, or coastal air pick up film faster and may need cleaning every two to three months. Check the surface monthly and wash when the face looks dull rather than waiting for a fixed date. Regular cleaning is the cheapest way to extend outdoor sign lifespan.
How to protect metal signs from fading?
Fading comes mostly from UV exposure, so the fix is a UV-resistant finish applied before the sun does its damage. Use a non-abrasive automotive or sign-grade sealant with UV blockers, apply it to a clean, dry surface, and reapply every 12 to 24 months. Keep the sign washed so dust does not hold moisture against the coating. If the clear coat is already chalking or peeling, have it recoated rather than polished, since polishing thin coatings speeds up surface damage.
What causes outdoor signs to fade or crack?
Sun, water, and temperature swings do most of the damage. UV exposure breaks down pigments and clear coats, which shows up as fading and color shift. Moisture damage starts at seams, mounting holes, and edges where water intrusion lifts coatings and feeds mold or corrosion on aluminum. Repeated heating and cooling makes vinyl and acrylic brittle, so hairline cracks appear at fastener points. Cleaning with abrasive cleaners or stiff brushes accelerates all three.
When should an outdoor business sign be repaired or replaced?
Repair makes sense when the problem is localized: a failed bulb, a cracked acrylic face, a loose mount, or a section of peeling vinyl. Replace when the cabinet is corroded through, the structure is compromised, or repairs would cost more than half of a new sign. For illuminated signs, a ballast or LED driver swap is usually a repair. Water intrusion that has reached wiring and rusted the interior is usually a replacement. Get a written assessment before committing either way.